How To Stop Your Dog Barking In Their Crate (Crate Training)
So you have bought your pooch one of the best dog crates you can find, but now you are listening to constant barking.
Sometimes it’s not as easy as buying a crate and just sticking your favorite pal in there overnight, chances are they won’t instantly like their new cubby-hole, and they will let you know the only way they know how – barking!
Day 1 – Nightmare! …Nothing like it you had anticipated.
You could be thinking at this point that the new crate was a mistake, and maybe you should you return it?
Honestly, every new dog parent, if not all, have been in this situation.
And that’s why in this post we are going to discuss proactive crating techniques on how to stop your dog barking in their new crate – and save your sanity!
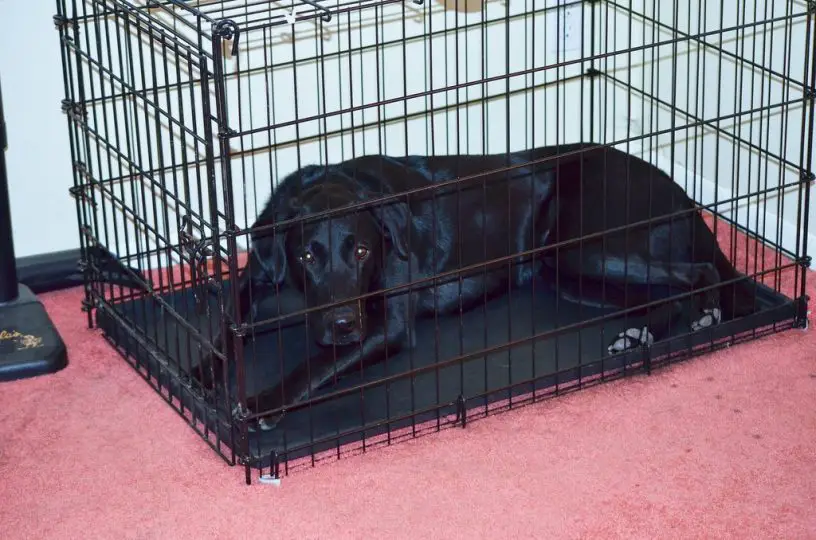
Crating – The Right Way
Sometimes our dogs are more like us than you may think. You may have found that when staying in a new place you don’t sleep well the first night?
It’s just the way our brains work, and it’s a built-in defense mechanism from the early ages of man (and dog!).
So when you stick your pup in that shiny new cage, the first night in-particular is difficult because their brains are hard-wired to be on the alert when they are in a new place.
Instant introduction doesn’t work well, so giving them some familiarity with their new little home is an important first step..
This will help them feel less agitated in the first few nights, as they feel more comfortable with familiar smells, and the feeling that the crate is a normal part of your home made especially for them.
So, here is a step by step guide on how to stop dog barking in crate by using the best crating introduction techniques.
How To Stop Dog Barking In A Crate: A step by step proactive crating guide.
Step 1: Crate Inspection
Once you bring the crate home, introduce your dog to the crate.
How? …Simply let them sniff it.
Once done, give your pal some treats and praises – make them feel happy with the experience.
Step 2: Let Your Dog Inside The Crate
The second step is to open the crate’s door so they can go inside.
The indoor dog crates like the Proselect Empire dog cage make your work easier for the newbies. This is because they usually have up to two side doors.
Remember, the best way to entice them to go inside in a more fun and interactive way is by using treats.
After they have gone in the cage on their own and come out again, follow by rewarding them with reassuring words and some good ole’ pats.
Step 3: Observe How Your Dog Reacts To The Crate
At this stage, you should be able to tell if they are taking a liking their new home or not.
So, be keen and reciprocate correctly to their reaction.
If they like it, encourage them to continue – if not, then take a break and come back in an hour or two, and start the process over.
But if everything goes right, go to the next step.
Step 4: Closing One Door
After a short while, close one door. And continue with a few treats. Observe their reactions, and if all goes well, proceed to the next step.
Step 5: Closing All The Doors
Now that your dog has happily entered the crate on their own, close all doors.
Don’t close the door for longer than 10 minutes, and it’s important to stay there with them at this early stage.
Once they seem comfortable and start to like the environment, let them out and give them some praise.
Step 6: Give Them A Break
Now go and give your dog some hearty exercise for around 20 minutes, then go over this crate training step again.
Try this step a few times during the day, with some good breaks in-between.
It’s through repetition that you’ll achieve quick success.
Step 7: Don’t Forget Meal Time
During meal time put their food inside the crate.
Let them go inside to have dinner, but don’t close the door until you feel they are ready to accept the change.
Step 8: The Toy And The Bone
During the day, you can place a toy or a bone inside the crate for them to play with.
I prefer Kong toys because you can easily tie the toy stashed with treats inside the crate.
At this stage, you’re teaching them to associate fun and food with the crate.
Step 9: Continue This Exercise For Several Days
If you stick with this exercise, within a week, they’ll be pretty comfortable going in and out of the crate.
After a while you may find that they are going in there on their own, and maybe even settling in for a nap occasionally.
Step 10: Close The Crate
Now it’s time to start closing the crate. To begin with, start with one hour after meals, then gradually increase this period.
Continue this way until you can close the doors for a few hours, then a night without a single bark.
Final Thought
In this short article, I’ve taken you through on how to stop dog barking in crate using the crating technique.
By the end of the exercise, your energetic pal should feel comfortable staying in their new home.
This exercise is mainly applicable to puppies, or a dog that has never been introduced to a crate, and may not work well for an older dog that has already developed a mistrust of dog crates.
Remember, dogs are not suited to being stuck in small spaces regularly for long periods of time.
It’s not good to leave your dog in a crate all day on a regular basis, they need to move around for exercise, and also for their mental well-being.
So just remember that the crate is a great home for sleeping, and when you absolutely need to restrain them – but give them plenty of free time too to keep them happy and healthy.